Earwax is the number-one reason hearing aids stop working well — and it's also one of the most preventable problems. After years of dispensing and servicing devices from every major manufacturer, I can tell you that the patients who keep their hearing aids performing like new are almost always the ones who follow a simple, consistent cleaning routine. It takes about five minutes a day and ten minutes on the weekend.
This guide walks you through exactly what to do, when to do it, and which tools actually help. It also covers what to avoid — a short list that surprises most first-time wearers.
Before you start
This guide applies to standard behind-the-ear (BTE), receiver-in-canal (RIC), and in-the-ear (ITE) hearing aids. If you wear a completely-in-canal (CIC) or invisible-in-canal (IIC) device, the same principles apply, but the components are smaller and more delicate — ask your audiologist for a device-specific walkthrough at your next appointment.
Why cleaning matters more than you might expect
Hearing aids sit in a warm, humid canal where cerumen (earwax) is produced continuously. Even a small amount of wax blocking a receiver port can muffle sound, trigger annoying feedback whistling, or cause the device to cut out entirely. Moisture from perspiration is the second culprit — it corrodes internal components over time if it isn't managed.
The average repair bill for a moisture- or wax-damaged hearing aid runs $200–$400. A $10 cleaning kit and five minutes a night is a straightforward trade.
What you need (and what to skip)
You don't need an elaborate kit. Most audiologists recommend keeping the following on hand:
- Soft wax-removal brush — the fine bristles dislodge dried wax from ports and vents without scratching.
- Wax pick or loop — for carefully clearing wax from the receiver port opening.
- Dry cloth or microfibre cloth — to wipe down the shell and tubing each evening.
- Wax guards (if your model uses them) — disposable filters that sit over the receiver opening. Change monthly or when sound starts to muffle.
- Drying case or electronic dehumidifier — especially important in humid climates or if you perspire heavily.
Most manufacturers include a basic brush and wax pick in the box. If yours didn't, a replacement kit costs under $10 and is widely available online or through your audiologist's office.
The nightly routine (5 minutes)
Do this every evening when you take your hearing aids out for the night:
Step 1 — Wipe down the shell
Using a dry, soft cloth, gently wipe the entire outer surface of each device. Remove any visible moisture or residue. Do not use wet wipes, alcohol swabs, or any liquid cleaner — moisture is the enemy, and many solvents damage the plastic shell or internal components.
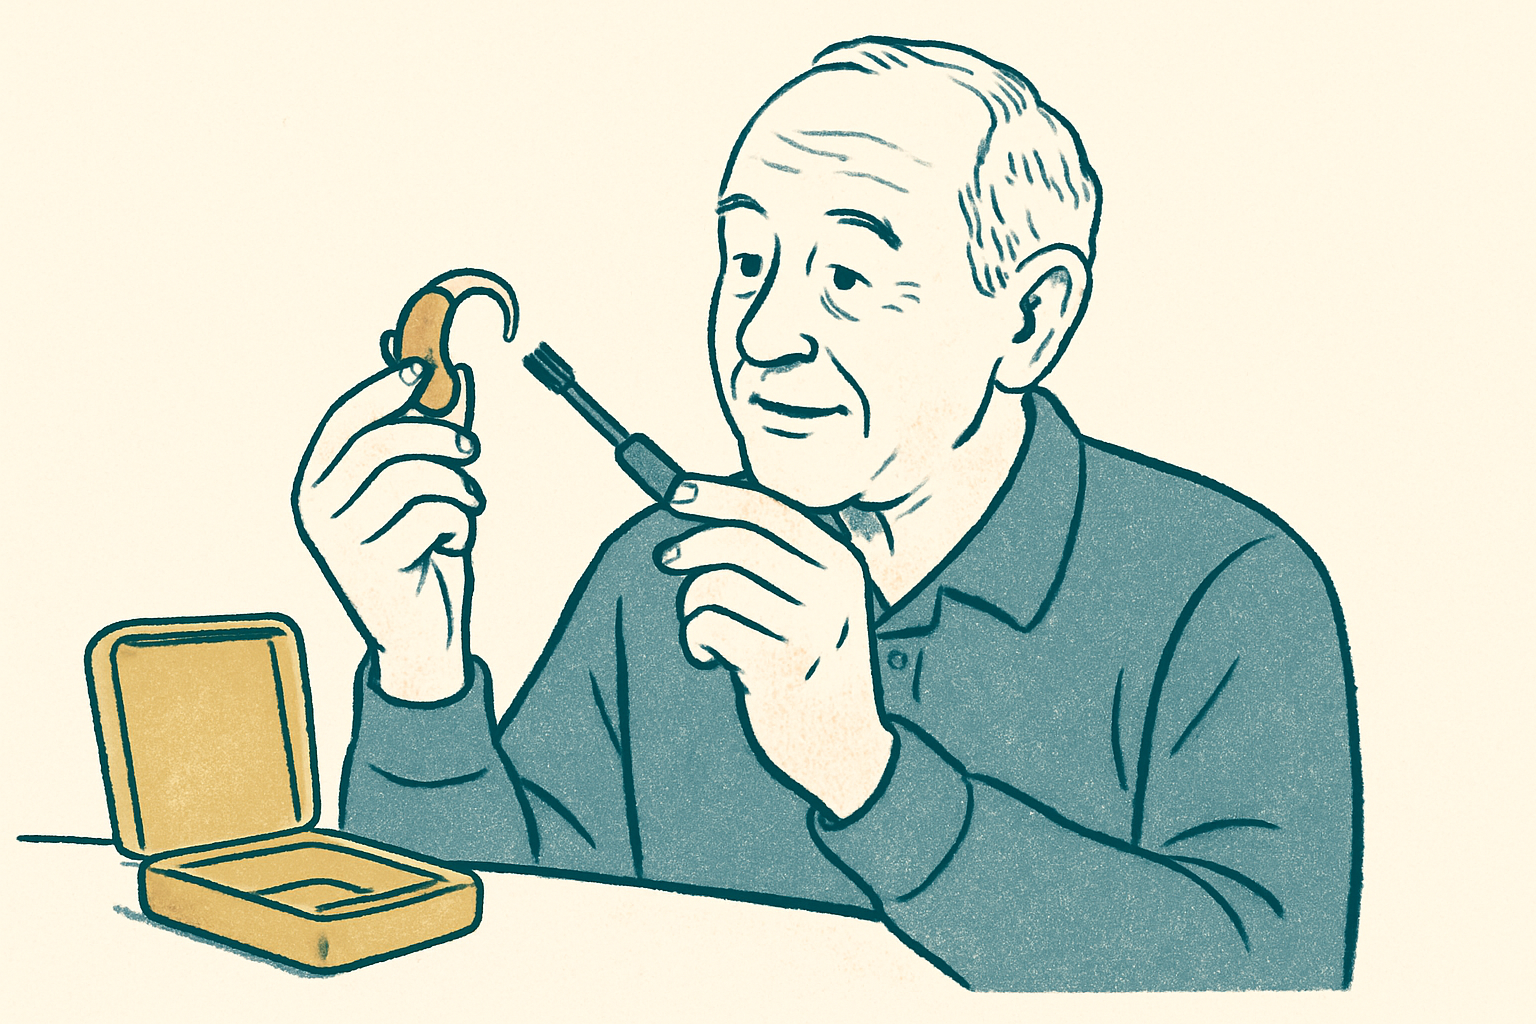
Step 2 — Brush the microphone ports
Hold the device with the microphone ports (the small openings on top of a BTE or RIC device) facing downward. Brush gently in a downward motion so that any dislodged debris falls away from the device rather than into it. A few light strokes are all it takes.
Step 3 — Check the receiver port and wax guard
Look at the tip of the device that sits in or near the ear canal. If your model uses wax guards, check whether the opening looks clear or clogged. If clogged, replace the guard now — don't wait until morning. If your device uses a receiver with an open port, use the wax pick or loop to gently clear any wax from the edge of the opening.
Step 4 — Open the battery door or place in the charging case
If your aids use disposable batteries, open the battery door completely before storing overnight. This allows air circulation and extends battery life. If your aids are rechargeable, place them in their charging case as usual. Either way, store in a cool, dry location — not a bathroom cabinet, where humidity is high.
The weekly routine (10 minutes)
Once a week — Sunday morning works well for many wearers — give each device a slightly more thorough inspection:
Tubing and ear molds (BTE devices)
If your hearing aids use soft tubing and a separate earmold, disconnect the earmold and wash it with mild soap and warm water. Shake out excess water, then leave it to air-dry completely for several hours before reattaching. Never wash the hearing aid body itself — only detachable earmolds can be washed with water.
Receiver and dome (RIC/RITE devices)
Check that the dome (the small silicone tip on the end of the receiver wire) is intact with no tears or flattening. Domes are inexpensive and should be replaced every 2–3 months, or sooner if they look worn. Gently clean around the dome with the brush.
Vent cleaning
Many earmolds and ITE shells have a small vent hole running through them to reduce the "plugged-up" feeling. Use the provided vent cleaning tool, or a thin piece of unwaxed dental floss, to pass through the vent and clear any debris.
David's tip from 11 years of dispensing
"The single most common thing I see that shortens hearing aid life is storing them in the bathroom overnight. Humidity quietly corrodes the receiver and circuit board over months. Move your storage spot to a bedside drawer and consider adding a $20 desiccant jar. It's the simplest upgrade most wearers never think to make."
When to replace consumable parts
Even with perfect cleaning habits, some components wear out on a schedule:
| Component | Typical replacement interval |
|---|---|
| Wax guards | Monthly, or when sound becomes muffled |
| Silicone domes | Every 2–3 months |
| Earmold tubing (BTE) | Every 6–12 months (hardens and yellows with age) |
| Full earmold | Every 1–3 years depending on fit changes |
| Receiver wire (RIC) | Every 1–2 years or if sound cuts out |
What to avoid entirely
A short but important list of things that damage hearing aids far more often than people expect:
- Water, running faucets, or swimming — even water-resistant (IP68) aids should not be submerged unless your audiologist has confirmed it is safe for your specific model.
- Alcohol wipes or household cleaners — these dry out and crack plastic shells and can dissolve adhesive components.
- Cotton swabs inside the shell — they push wax deeper into ports rather than removing it.
- Leaving aids in a hot car — temperatures above 40 °C (104 °F) can warp shells and damage battery chemistry.
- Wearing aids in the shower or while applying hairspray — both are very common and both cause preventable damage.
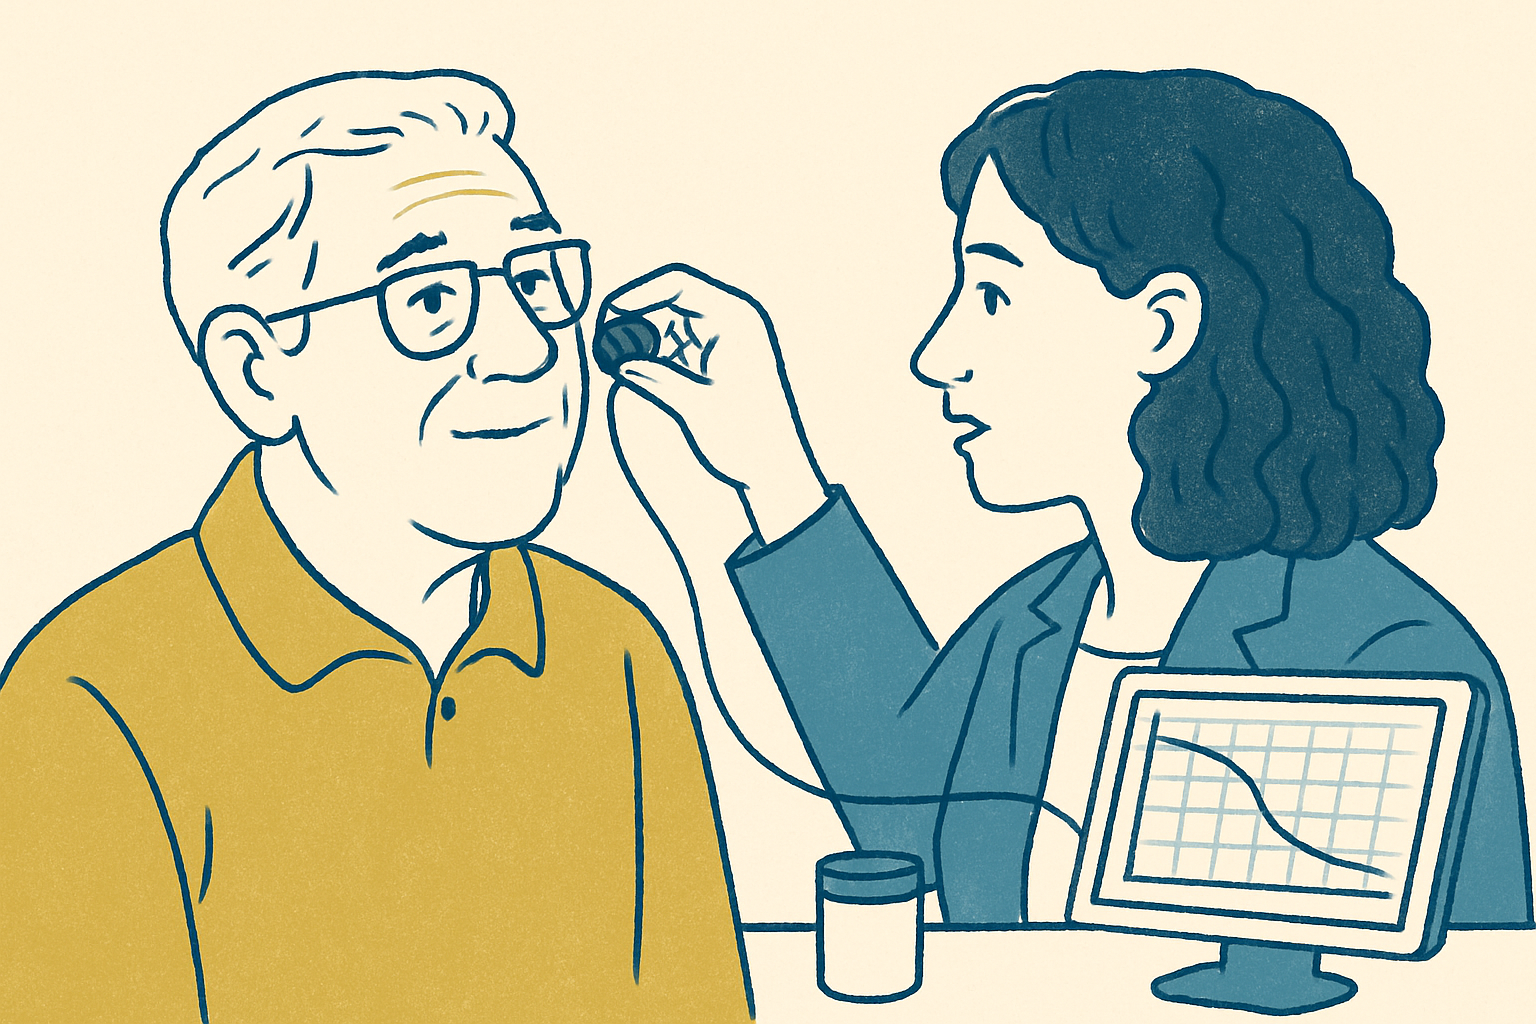
When to see your audiologist
Regular cleaning handles most day-to-day maintenance, but there are situations where a professional cleaning or service appointment is the right call. Schedule a visit if you notice persistent feedback or whistling that cleaning doesn't resolve, sound quality that hasn't improved after replacing the wax guard and dome, physical damage to the shell or receiver wire, or any change in how your aids sit in or behind the ear. Most audiologists recommend a professional cleaning check every six months alongside your hearing check.
Not sure which hearing aids are easiest to maintain?
Our audiologist-reviewed comparisons cover real-world reliability and how each manufacturer supports wearers after the sale.
Browse Hearing Aid Reviews→