Walking into your first hearing aid fitting can feel overwhelming — there are unfamiliar terms, new technology, and a lot of decisions to make in a short amount of time. The good news is that when you know what to expect, you can ask better questions, advocate for your own comfort, and leave the appointment with a device that actually works for your life.
Here is a step-by-step guide to the fitting process, from the hearing test to the final programming adjustments, so nothing catches you off guard.
Step 1: The audiogram (if you don't have one yet)
If you haven't had a recent hearing evaluation, the appointment typically begins with a pure-tone audiogram. You'll sit in a sound booth wearing headphones and press a button each time you hear a tone — even a faint one. This test maps your hearing thresholds across different frequencies and produces the audiogram that guides every programming decision for your hearing aids.
A speech recognition test usually follows. You'll repeat words or sentences at different volumes, which tells the audiologist how well you understand speech — not just whether you can detect sound. This is important because two people with identical audiograms can have very different speech clarity, and good programming accounts for that difference.
What to bring
Bring a family member or close friend if possible. A second set of ears remembers details you might miss, and your audiologist can demonstrate the devices on a voice the patient already knows and trusts.
Step 2: Choosing the right style and technology level
Based on your audiogram results, the audiologist will recommend one or more hearing aid styles. The main categories are:
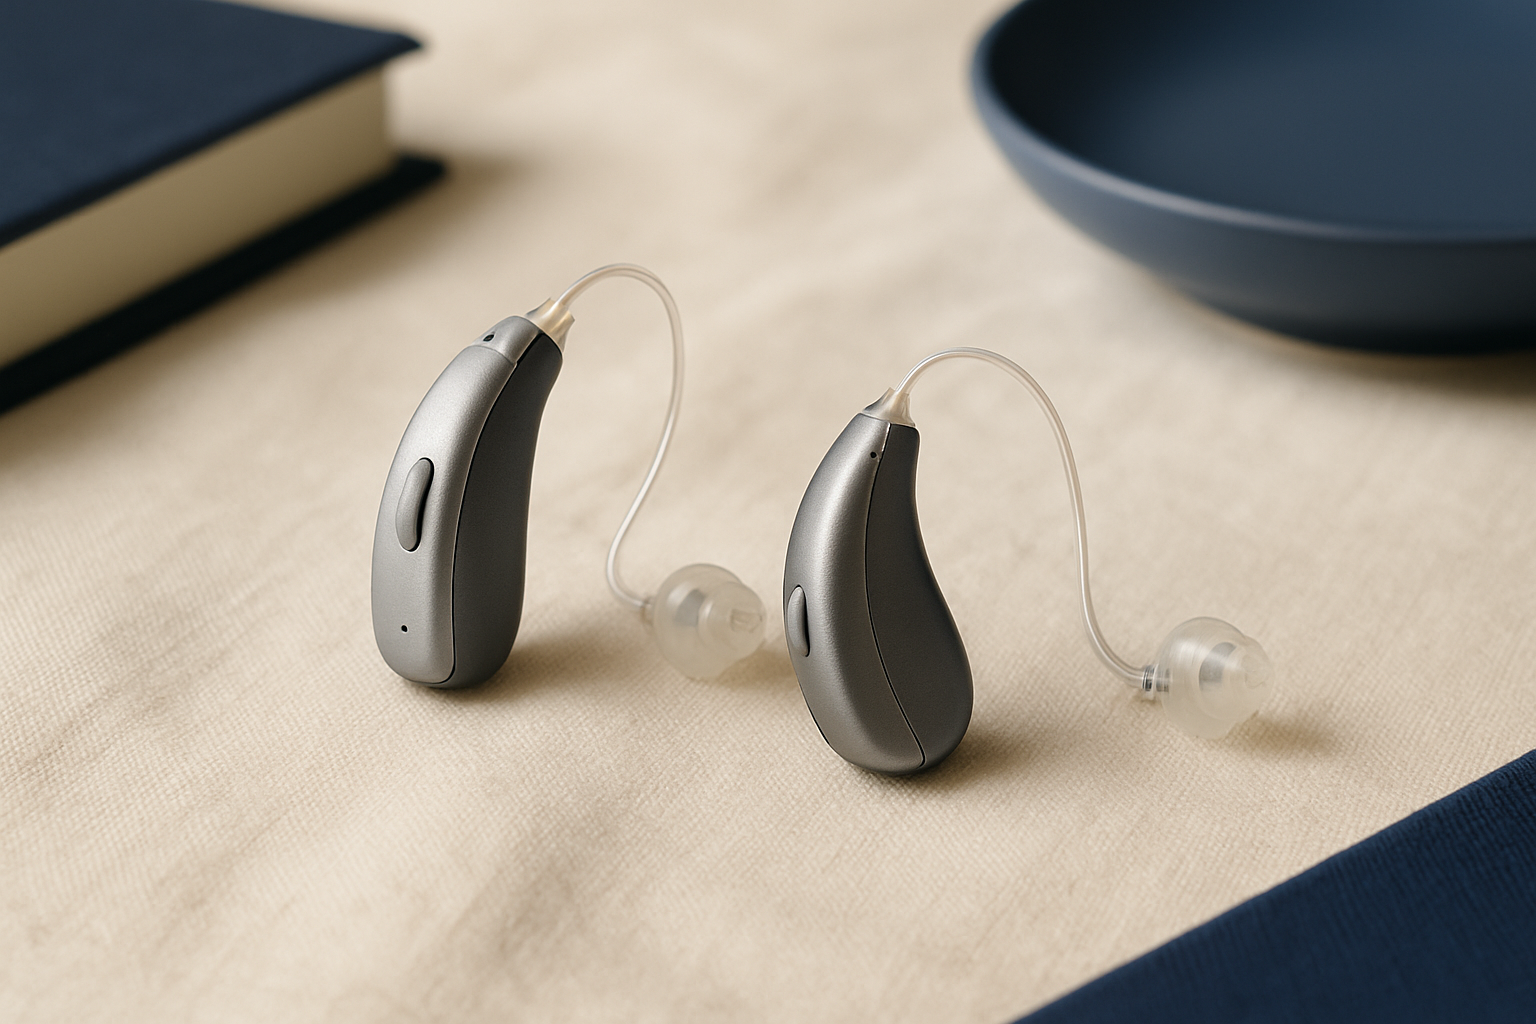
- Behind-the-ear (BTE): The most powerful option, with the processor sitting behind the ear. Often recommended for moderate-to-profound loss.
- Receiver-in-canal (RIC/RITE): The most commonly fitted style today. Slim, comfortable, and suitable for mild-to-severe loss.
- In-the-ear (ITE) and in-the-canal (ITC/CIC/IIC): Custom-molded to your ear. More discreet, though typically with shorter battery life and fewer features.
Technology levels — usually described as entry, mid, or premium — affect how well the hearing aid handles challenging environments like restaurants and crowded rooms. Your audiologist should explain what each level adds in plain terms, not just feature-list language.
Step 3: The physical fitting
Once devices are selected, the physical fit is established. For custom-molded devices, an ear impression is taken — a soft foam or silicone material is briefly placed in your ear canal to capture its exact shape. This impression goes to the manufacturer, and custom devices typically arrive in one to two weeks.
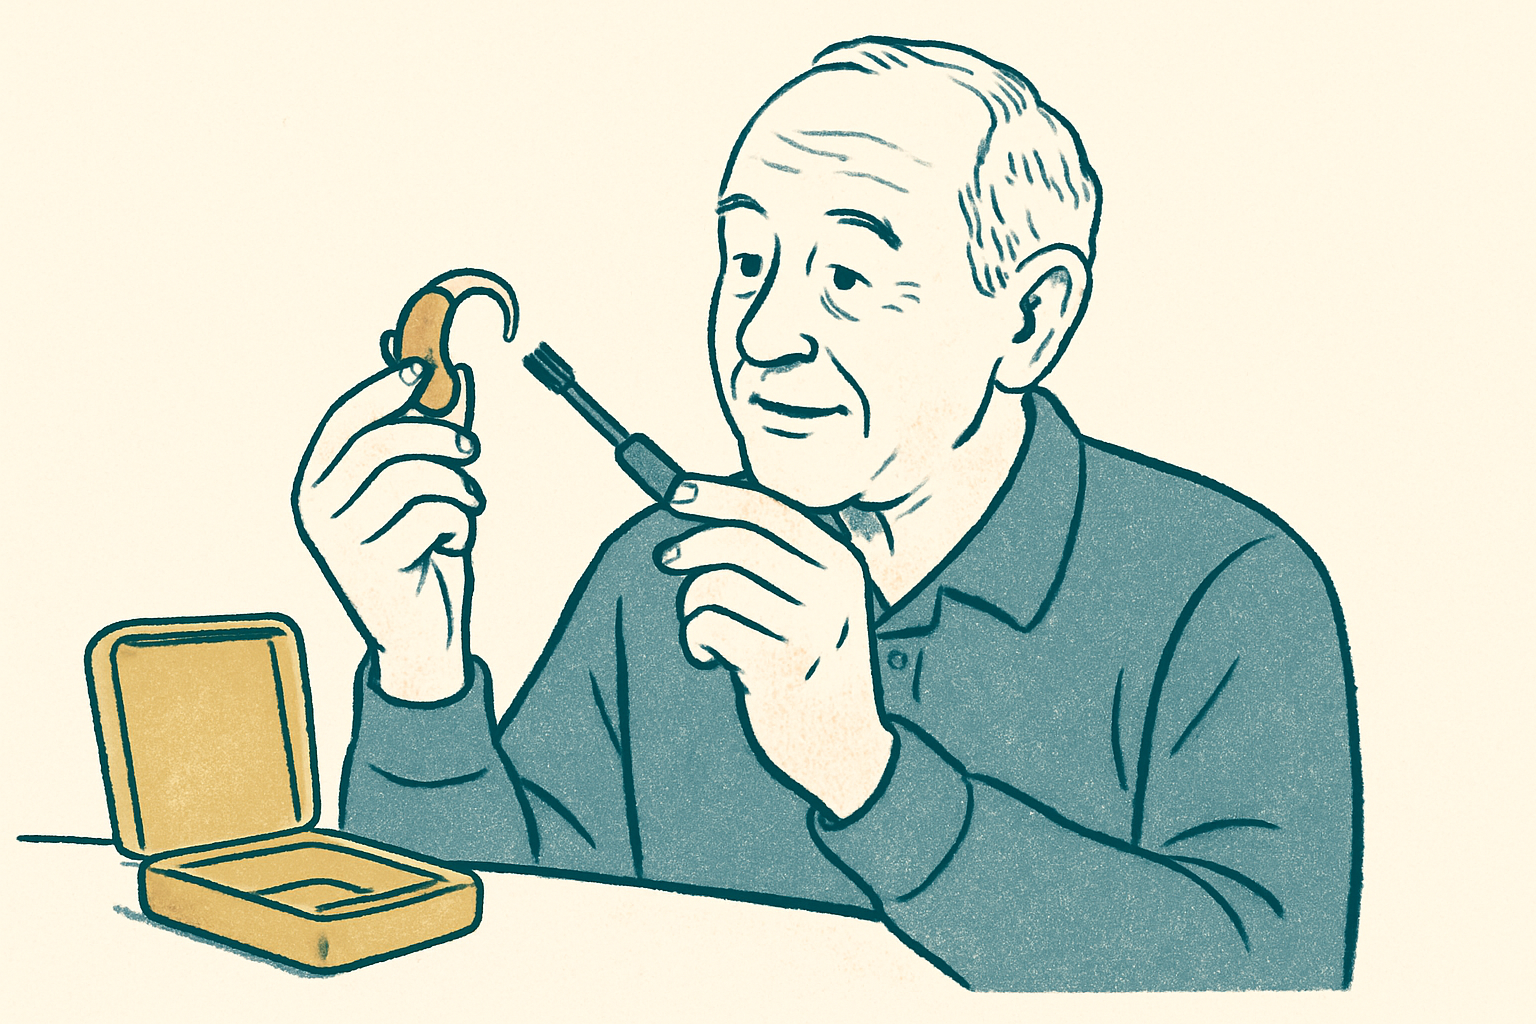
For RIC and BTE styles, the fitting often happens at the same appointment using a dome (a small flexible tip) sized to your canal. The audiologist will verify the fit is comfortable and that the device stays securely in place when you move your jaw or tilt your head.
Step 4: Real-ear measurement — the most important step most people don't know about
Real-ear measurement (REM), also called probe-microphone measurement, is the gold standard for verifying that a hearing aid is actually delivering the right amount of amplification in your ear canal — not just on a test mannequin.
A thin probe tube is placed alongside the hearing aid in your ear. A speaker plays sounds at different frequencies while the probe measures the sound level at your eardrum in real time. The audiologist then compares those measurements to prescriptive targets derived from your audiogram and adjusts the programming accordingly.
Research consistently shows that hearing aids fit with real-ear measurement outperform those fit without it. If your audiologist doesn't mention REM, ask for it by name.
Why REM matters more than you might think
Ear canals vary significantly in size and shape. A device programmed to "average" targets may be under-amplifying in the high frequencies you need most for speech clarity — or over-amplifying in ways that cause listening fatigue. Real-ear measurement removes that guesswork and personalizes the fitting to your anatomy, not an average.
Step 5: First-listen and fine-tuning
Once the initial programming is set, you'll wear the devices in the office and give feedback. Your voice will likely sound strange at first — louder, perhaps hollow or echoey. This is a normal adaptation phenomenon called the occlusion effect, and it typically resolves within a few weeks as your brain adjusts.
Tell your audiologist honestly what you notice. Too loud? Too much background noise? Speech doesn't sound clear? All of these are adjustable in the programming software, often in real time during the appointment. The first fitting is rarely the final one, and that's expected.
What to expect in the weeks after your fitting
Most audiologists schedule at least one follow-up appointment within the first two to four weeks. Your hearing brain needs time to recalibrate — sounds you stopped noticing years ago will return, sometimes all at once. A few things to keep in mind:
- Wear the hearing aids consistently, even if they feel uncomfortable at first. Gradual wear-in schedules are sometimes recommended for first-time users.
- Keep a short journal of situations where hearing was difficult. Specific feedback ("I struggled to hear my granddaughter in the car on Sunday") helps your audiologist make targeted adjustments.
- Don't expect perfection immediately. Most people reach their optimal programming over two or three fine-tuning visits.
- Ask about the trial period. Most reputable providers offer 30 to 60 days to return or exchange. Know the terms before you leave.
Questions to ask at your fitting appointment
Are you using real-ear measurement? What is the trial period and return policy? How many follow-up visits are included? Can adjustments be made remotely via an app? What warranty covers repairs and loss? Who do I call if there's a problem after hours? Write these down before you go — it's easy to forget in the moment.
A note on over-the-counter vs. prescription fittings
Since 2022, FDA-cleared over-the-counter hearing aids have been available without a fitting appointment for adults with mild-to-moderate hearing loss. These devices are self-fitted using an app and can be a reasonable starting point. However, they bypass the audiogram, real-ear measurement, and professional fine-tuning described above. If your loss is moderate-to-severe, or if your primary challenge is understanding speech in noise, a professional fitting is worth the additional cost and time.
See our independently reviewed hearing aid rankings
Every device on HearingExperts is evaluated against published criteria by licensed audiologists. No brand pays for placement.
Browse All Reviews→